06 August 2011

Waterproof Picnic Blanket

We had a crazy dry July over here. But I am hoping we get some rain this month. And I also hope we get some nice picnic days. In case any of those picnic days come shortly after a rainy day when the ground might still be wet, I present this waterproof picnic blanket. It can even be easily rolled up with straps for carrying.

When I had this idea I was sure there were some tutorials out there but instead of googling it I went it alone and came up with my own way of doing it. I think it turned out pretty great and was easy and cheap to make so I am putting my findings here in a tutorial. It actually turned out to be simple to the point of not needing a tutorial, no surprises or anything. But since I already took pictures along the way... here it is.

Supplies
*a thin blanket/bed cover (you could use something thinner, even a quilt top you make but the thin layer of batting gives the blanket a nice weight and makes it roll up very easily)
*a small tarp (I used a $6 6x6ft tarp that actually came with a rope too)
*4 pieces of thin rope at least 2 feet long each (or you could make the ties from fabric)

Step 1: Lay your tarp over your blanket right sides together and cut the blanket to the size and shape of the tarp.Step 2: Lay your ropes in their place. You want two groups of two ropes and you want them on one half of the blanket (because you will fold it in half before rolling up). So just space the two groups out approximately equally on one half of the side of the blanket. Leave a few inches hanging out with most of the rope length inside the sandwich of tarp and blanket. Use your biggest pins to secure the ropes in their places.Step 3: Pin the tarp and blanket together all around the edges. To avoid making extra holes in your plastic pin very close to the edge.Step 4: Sew the blanket and tarp together all the way around except leave a gap at least a foot long for turning. Be sure to go back and forth over the part where the ropes are attached a few times.Step 5: Clip any corners. And turn the whole thing right side out. Top stitch to close the opening you left for turning. There is the option to top stitch all around the blanket but I didn't.

Step 6: Take it out and enjoy a picnic. To carry: fold in half, roll up starting with non rope ends, tie ropes around roll, then I like to tie the extra length of the two groups of rope together to make myself a little shoulder strap.
linked up here:


05 August 2011

Mississauga

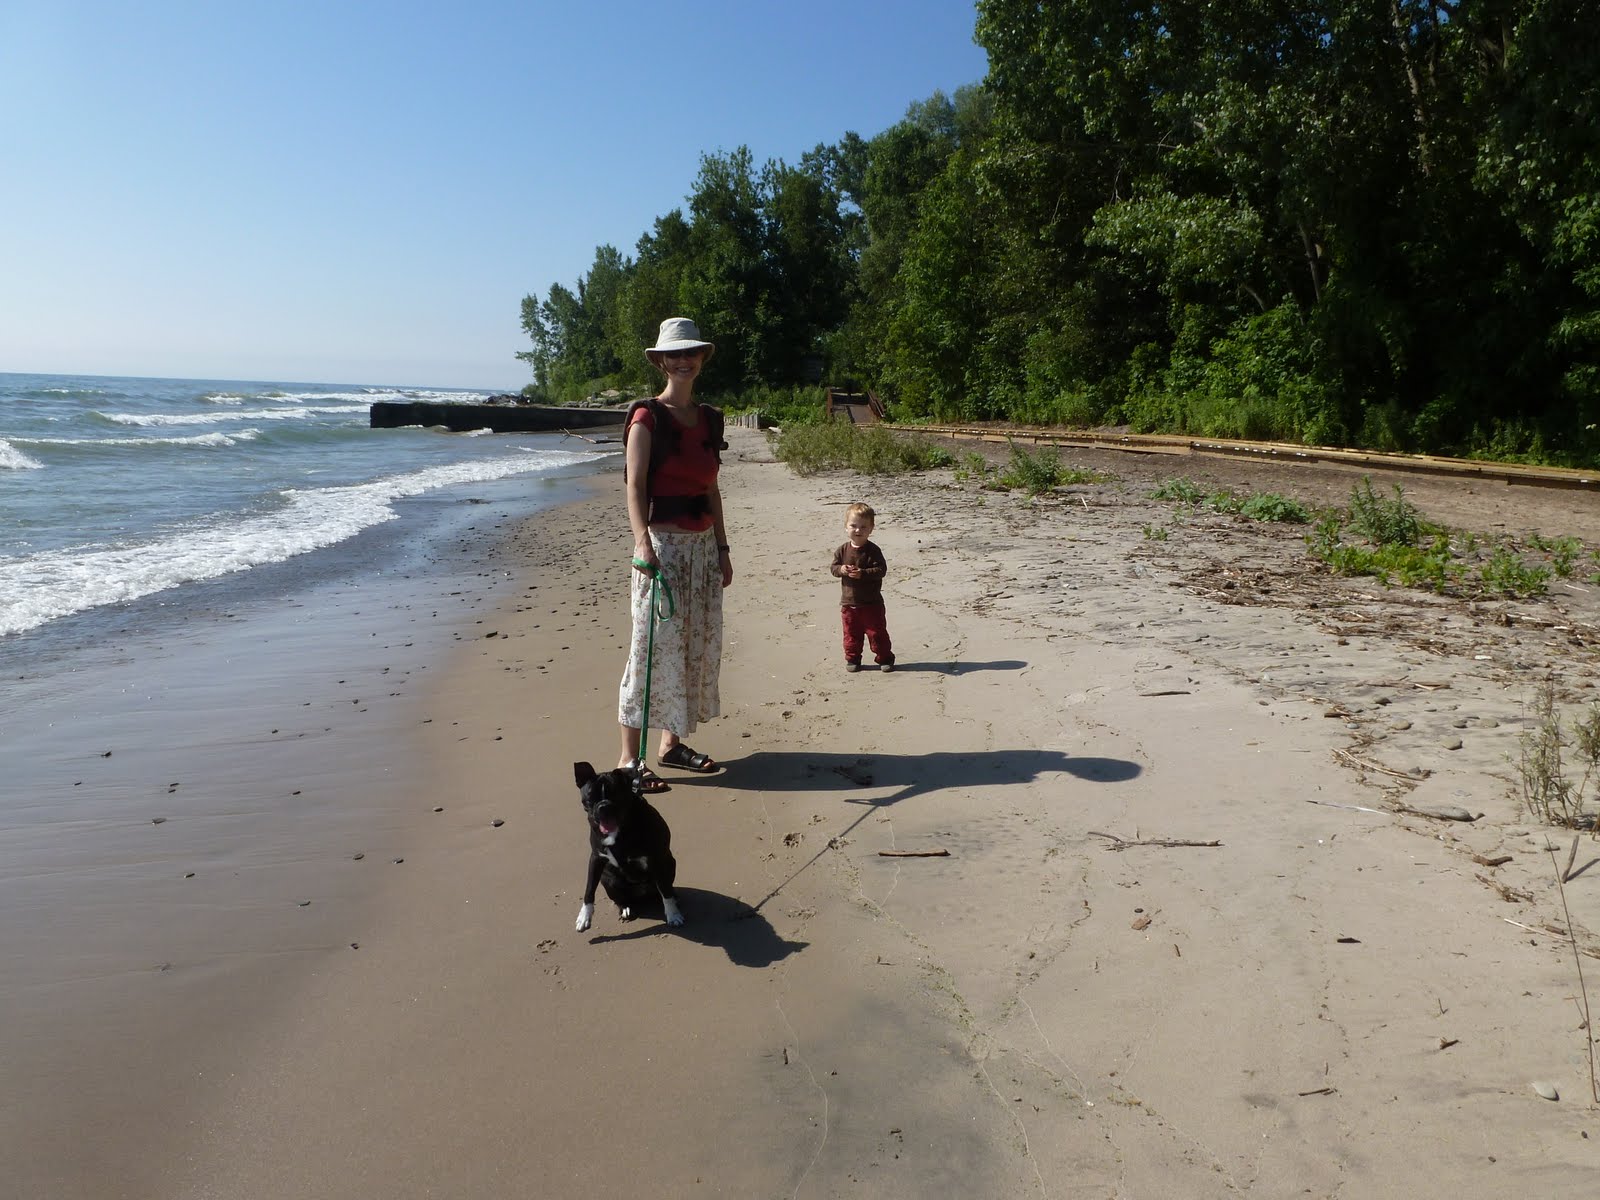
Henry and I are having a mini break this week, staying at my mum's in Mississauga. She lives an hour away from us. Close enough that we can see my mum and younger sister a couple of times most months but far enough that it's nice to stay a few days when we come. We like to go on lots of walks together while we are here and spend the rest of the time sitting around drinking tea. This week we also went to some playgrounds, a splash pad, and spent a morning at the beach at Kelso Conservation Area. Here are some pictures.

02 August 2011

The August Long Weekend

We had a wonderful long weekend. We went to the beach, wandered around (and in and out of the pub) in our favourite small town Elora, spent time with family and friends, had a nice restaurant meal with a well behaved toddler, and had just enough time relaxing at home just the three of us. We discovered Henry LOVES fresh corn from the farmer's market (as in eats a whole cob himself) but is not fooled when I try to give him some frozen stuff when that runs out. We will have to make sure to take full advantage of local corn season this year.

Later this morning Henry and I are heading to Mississauga to meet my mum at the airport after a month away and spend some quality time with my side of the family for the rest of the week.

29 July 2011

Henry's Smoothies

This is Henry these days. Not the one sock and no clothes bit but the popsicle bit. He eats 3 or 4 a day recently. When he wants one he knocks on the freezer door and says something along the lines of "cold cold". These are the popsicles I make from leftover smoothie so he is allowed to have as many as he likes though we do try to get some other food into him too. So for now I will be putting his whole smoothie allotment into the popsicle molds.

And yes, these pictures of a 17 month old eating a popsicle in the living room do give a good indication of the level of stickiness of our home.

PS - Today I tried adding a bit of leftover steamed cauliflower (soft and bland) into our smoothies and it worked beautifully.

28 July 2011

Smoothies

Firstoff, I decided to put a post about smoothies up on the blog because I wanted a reason to take photos of my most recent thrift store acquisition: the most beautiful blender the world has ever seen. But also since I've been making smoothies on and off for years and every single day for the past few months since Henry started liking them, I think I have some good knowledge on the subject to offer up to the internet community.


Back to my blender - isn't it beautiful. It's got avocado green, shiny chrome, and even faux wood grain. And it looks and works like new. And it cost just $12. I've been through 3 $150 blenders in the past 3 years. The first 2 that broke were luckily replaced under warranty. And after the third broke I did actually replace it with a cheaper new blender but I am happy to keep that one in the basement as backup so that I can have this one on my counter. I am hoping that this is one of those "they don't make them like they used to" situations and not an "Amy is way too hard on her blender" situation so that my new blender will last for years to come.

Of course this beautiful blender has created that age old problem of making my toaster and microwave look hideous but I think I can deal with it. Well, maybe I will keep just one eye out for an awesome thrift store toaster. But I don't think that microwaves are one of those "they don't make them like they used to" appliances. Besides, I don't think microwaves get much more vintage than our current one.

Onto the smoothies, I make some variation of this every morning. Assuming you are not taking pictures along the way, it takes less than 10 minutes for the whole thing.

First the veg (well 2 of these are fruits if we want to be technical). I add about 3 big collard leaves and avocado and, since zucchini are coming out of the garden right now, I've been adding those too. Add the collards to the blender first to be sure that they get well blended.

The protein: tofu, cashews, and flaxseed. I add a third of a 530 g package of soft silk tofu. I also sometimes add raw cashews, I find about 1/4 cup soaked in water overnight works well. I also always have soy protein powder in the pantry which I add if I am out of tofu or occasionally in addition to tofu.
The sweet fruit. I always add one banana and then about a handful of various frozen berries or peaches or whatever tasty fruit is in season. On this day I also added some raspberries and currants from the garden that weren't getting eaten. Mangos are also a really nice addition.
I meant to take a picture of all the ingredients stacked up in the blender, it looked quite nice but I accidentally pressed blend first so this is the picture showing the ingredients in the blender (some blended some not) along with the juice. I usually use orange juice but this is what I happened to have. It's a good idea to taste the smoothie before you take it out of the blender. If it turns out you added too much collard greens or flaxseed (too much and you can taste the bitterness) or even tofu (too much and the smoothie becomes bland) the best thing to add is raspberries as these seem to cover up those tastes the best. And if you don't like the grittiness of the flaxseed it is also a good idea to add raspberries because we are used to that gritty texture when we eat raspberry stuff.

I think that is just about all my smoothie knowledge. Of course just about any these ingredients can be substituted or omitted. The only balance that's important is the sweet versus non sweet ingredients.
So you can see these are pretty healthy. Lots of fruit and veg and protein. And calcium from the tofu and the greens. Henry has a serving of this, he sometimes drinks it all at once but it often goes in and out of the fridge while he works on it during the day. Having him get all this good stuff lets me feel a bit more relaxed about what he eats the rest of the day.

These ingredients made enough for 3 servings plus a little left over that I pour into popsicle molds. Henry and I both like to eat the popsicles that these smoothies make. And I found these great little molds at Dollarama that are nice and small for little Henry.

Here's the recipe just in case this information really is of use to anyone out there:

3 big leaves collard greens
1/2 avocado
1/2 zucchini
1/4 cup raw cashews presoaked overnight
1/3 pack soft silken tofu
1-2 TBSP flaxmeal
1 banana
~handful berries or other fruit
1/2 cup+ orange juice

Put all ingredients in blender and blend. Start with 1/2 cup juice and add more until well blended to desired consistency.

27 July 2011

Green Beans and Currants

The summer is flying by, we are just about done with peas and have moved onto green beans in the garden.
Above they are served with chickpea cutlets and sautéed zucchini.

Yesterday I also picked the red currants off the currant bush. We never get very many and they never taste all that good but I try to remember to pick them at least once each year. I think Henry liked the red currants. I saw him spitting them out at least once but he kept going back to them, reaching his lovely little hand into the jar and pulling out a little red ball.

And some other shots of my favourite kid. We are spending a lot of time out the front of the house these days, Henry's favourite place by far.