11 August 2011

Tomatoes


It finally happened - we got our first ripe tomatoes out of the garden, took a bit longer than usual this year. And they are delicious, can't wait for more. We have plenty of green tomatoes on the plants that we are waiting for. Including lots of big ones this year that always threaten to not turn red, to either stay green till the snow comes or to rot.


And while I was out there I pulled up the dead pea plants. This year I am going to try planting a fall crop of peas for the first time. And with the pea plants out I was able to get at these sneaky potatoes that grew from potatoes I missed harvesting last year. We got a full 3L basket of them.


Henry did quite a good job of entertaining himself while I was back there.


He ate some peas from one good pod that I found.


And I caught him climbing up the slide on his own!


09 August 2011

2 New Tops

I made myself 2 new tops recently. The first one came from this vintage pattern and I'm pretty pleased with it, not sure it will get much wear though as it doesn't fit in with my everyday clothes all that well. I love the little attached sleeves though. And they are super practical - cover my shoulders from the sun but are nice and open so I feel as if I am wearing a sleeveless top.
Also note my cute new hairstyle that I cut myself yesterday.

This second is a pattern I drafted using that pattern as a base. I knew I definitely wanted another top with those perfect sleeves. I kept the basic shape but simplified everything else - no collar, no slit in the front, just two pieces. I used a vintage sheet as my material. I was a bit worried about the clown effect wearing pink and orange and fluorescent green but I've worn it a few times now and no one has mistaken me for a clown. Actually I felt quite comfortable and confident in it. So I love my new top and it feels good to have mostly drafted the pattern myself. If I make it again though I will make the neckline much lower. It will look better and I won't feel like I have my top on backwards all day.Both these projects were from a week or so ago. I haven't been sewing much the past week as I have just been too busy with this little guy - just so much fun stuff to do with an almost 18 month old in the summer! Doesn't he look so big and grown up all of a sudden!?!

06 August 2011

Waterproof Picnic Blanket

We had a crazy dry July over here. But I am hoping we get some rain this month. And I also hope we get some nice picnic days. In case any of those picnic days come shortly after a rainy day when the ground might still be wet, I present this waterproof picnic blanket. It can even be easily rolled up with straps for carrying.

When I had this idea I was sure there were some tutorials out there but instead of googling it I went it alone and came up with my own way of doing it. I think it turned out pretty great and was easy and cheap to make so I am putting my findings here in a tutorial. It actually turned out to be simple to the point of not needing a tutorial, no surprises or anything. But since I already took pictures along the way... here it is.

Supplies
*a thin blanket/bed cover (you could use something thinner, even a quilt top you make but the thin layer of batting gives the blanket a nice weight and makes it roll up very easily)
*a small tarp (I used a $6 6x6ft tarp that actually came with a rope too)
*4 pieces of thin rope at least 2 feet long each (or you could make the ties from fabric)

Step 1: Lay your tarp over your blanket right sides together and cut the blanket to the size and shape of the tarp.Step 2: Lay your ropes in their place. You want two groups of two ropes and you want them on one half of the blanket (because you will fold it in half before rolling up). So just space the two groups out approximately equally on one half of the side of the blanket. Leave a few inches hanging out with most of the rope length inside the sandwich of tarp and blanket. Use your biggest pins to secure the ropes in their places.Step 3: Pin the tarp and blanket together all around the edges. To avoid making extra holes in your plastic pin very close to the edge.Step 4: Sew the blanket and tarp together all the way around except leave a gap at least a foot long for turning. Be sure to go back and forth over the part where the ropes are attached a few times.Step 5: Clip any corners. And turn the whole thing right side out. Top stitch to close the opening you left for turning. There is the option to top stitch all around the blanket but I didn't.

Step 6: Take it out and enjoy a picnic. To carry: fold in half, roll up starting with non rope ends, tie ropes around roll, then I like to tie the extra length of the two groups of rope together to make myself a little shoulder strap.
linked up here:


05 August 2011

Mississauga

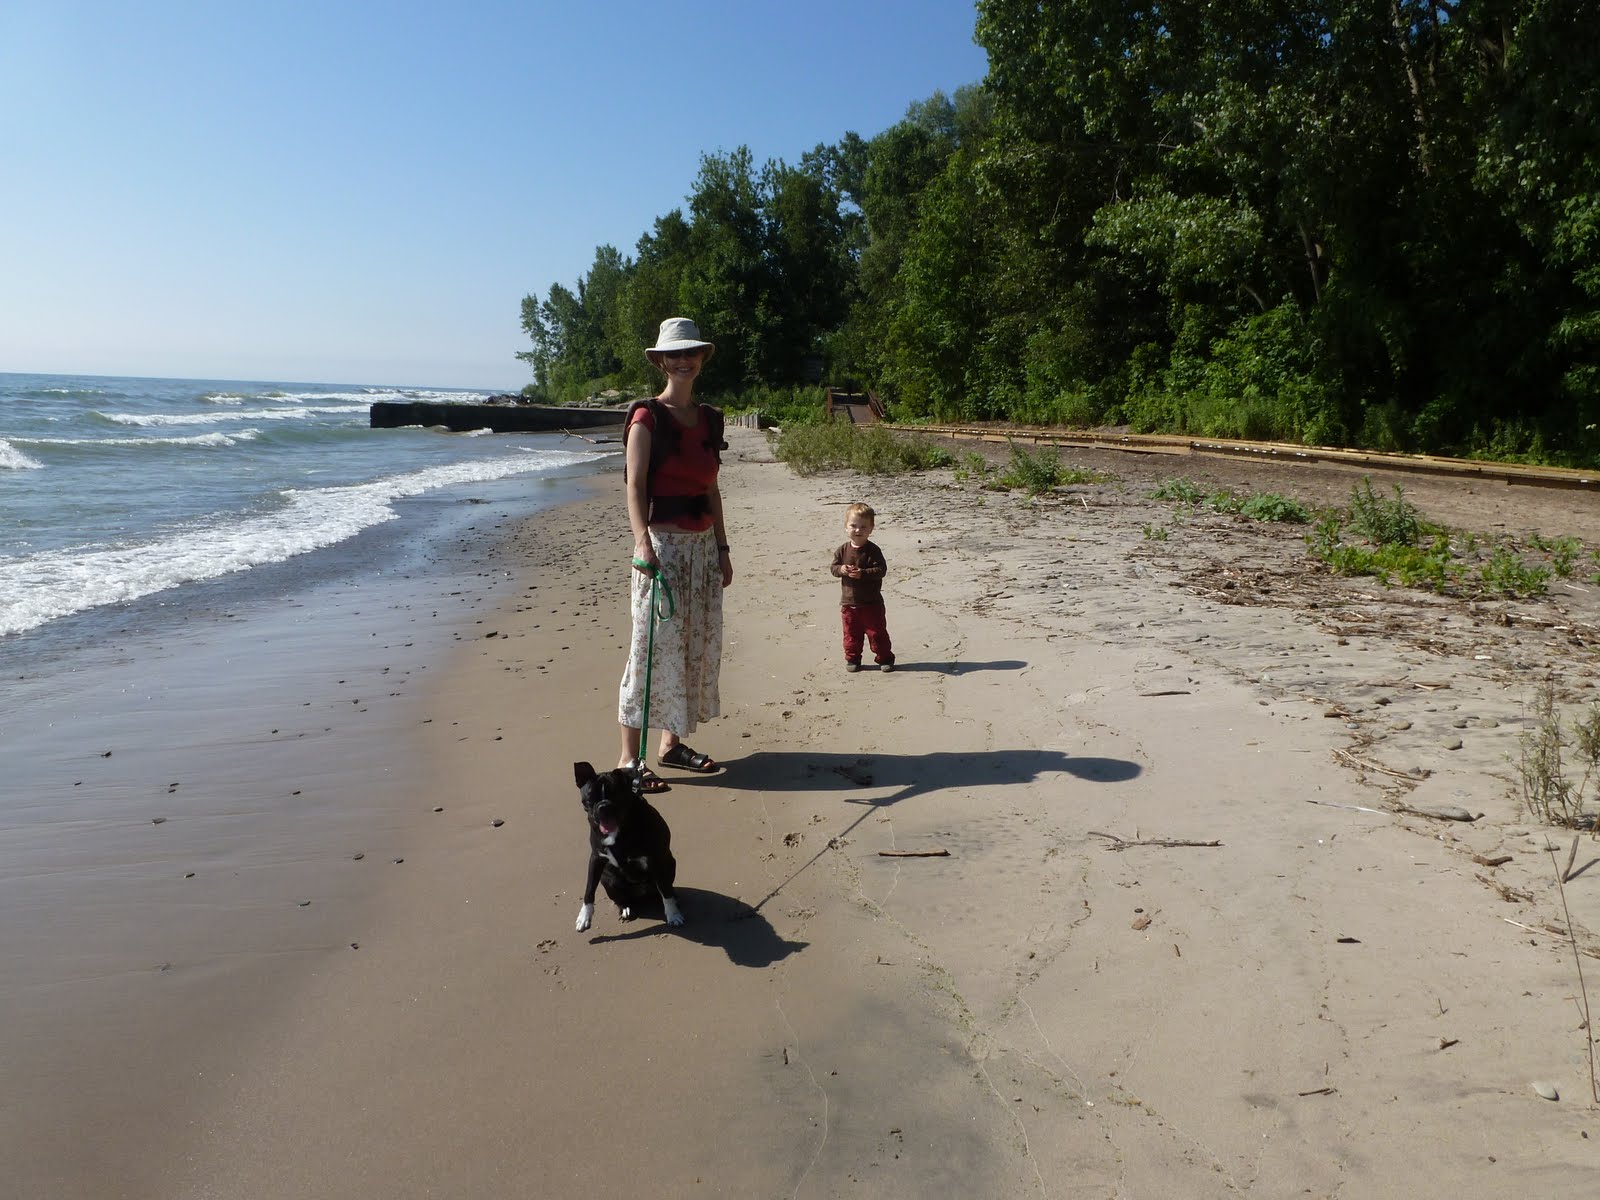
Henry and I are having a mini break this week, staying at my mum's in Mississauga. She lives an hour away from us. Close enough that we can see my mum and younger sister a couple of times most months but far enough that it's nice to stay a few days when we come. We like to go on lots of walks together while we are here and spend the rest of the time sitting around drinking tea. This week we also went to some playgrounds, a splash pad, and spent a morning at the beach at Kelso Conservation Area. Here are some pictures.

02 August 2011

The August Long Weekend

We had a wonderful long weekend. We went to the beach, wandered around (and in and out of the pub) in our favourite small town Elora, spent time with family and friends, had a nice restaurant meal with a well behaved toddler, and had just enough time relaxing at home just the three of us. We discovered Henry LOVES fresh corn from the farmer's market (as in eats a whole cob himself) but is not fooled when I try to give him some frozen stuff when that runs out. We will have to make sure to take full advantage of local corn season this year.

Later this morning Henry and I are heading to Mississauga to meet my mum at the airport after a month away and spend some quality time with my side of the family for the rest of the week.